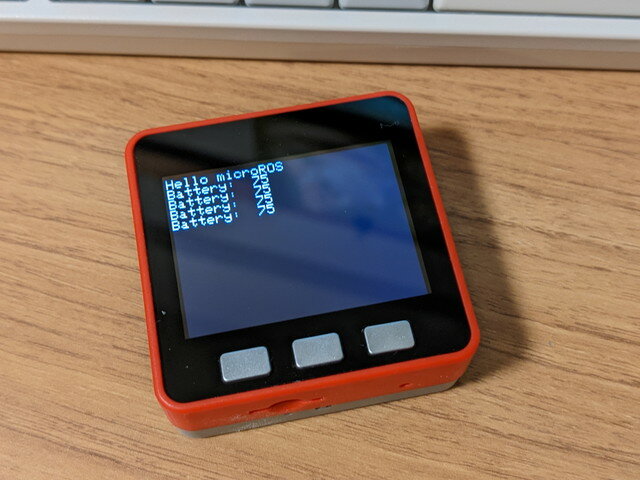
前回は簡単なpublisherを試してみましたが、今回はsubscriberをM5Stackで動かしてみます。環境は前回構築したものを使います。
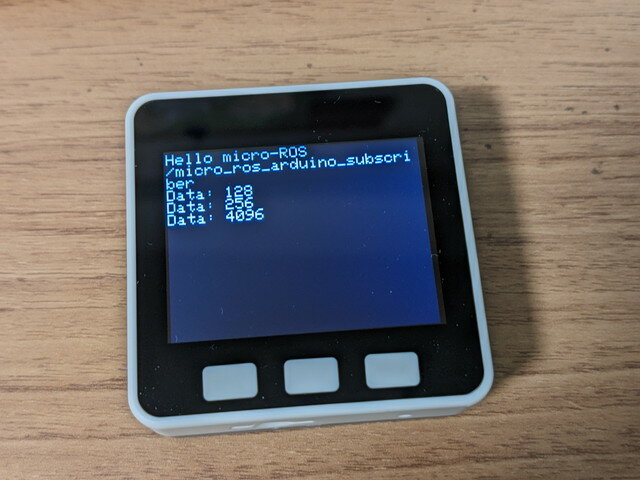
今回はM5Stack Goを使いました。ROS2 Foxyの環境はVMWare Workstaion Player上のUbuntu 20.04 LTSです。
マイコン(M5Stack)側の設定
micro-ROSのサンプルプログラム(micro-ros_subscriber.ino)をM5Stack用に修正したものを使います。
サンプルプログラムではmicro_ros_arduino_subscriberというトピックを購読するようになっています。データの内容はInt32です。WiFiの設定のところは前回同様にWiFiのSSIDとパスフレーズとmicro-ROS-Agentが動作するPCのIPアドレスに書き換える必要があります。
作成したソースコードはGitHubに登録しておきました。
//
// micro-ROS subscriber sample program
// for M5Stack
//
#include
#include

#include
#include
#include
#include
#include

#include

rcl_subscription_t subscriber;
std_msgs__msg__Int32 msg;
rclc_executor_t executor;
rclc_support_t support;
rcl_allocator_t allocator;
rcl_node_t node;
rcl_timer_t timer;

//#define LED_PIN 13

#define RCCHECK(fn) { rcl_ret_t temp_rc = fn; if((temp_rc != RCL_RET_OK)){error_loop();}}
#define RCSOFTCHECK(fn) { rcl_ret_t temp_rc = fn; if((temp_rc != RCL_RET_OK)){}}


void error_loop(){
  M5.Lcd.print("Error!!\n");
  //while(1){
  //  digitalWrite(LED_PIN, !digitalRead(LED_PIN));
  //  delay(1000);
  //}
}

void subscription_callback(const void * msgin)
{
  const std_msgs__msg__Int32 * msg = (const std_msgs__msg__Int32 *)msgin;
  //digitalWrite(LED_PIN, (msg->data == 0) ? LOW : HIGH);
  M5.Lcd.printf("Data: %d\n", msg->data);
}

void setup() {
  M5.begin();
  M5.Power.begin();
  M5.Lcd.setTextSize(2);
  M5.Lcd.print("Hello micro-ROS\n");
  M5.Lcd.print("/micro_ros_arduino_subscriber\n");

  // for WiFi
  set_microros_wifi_transports("SSID", "PASS", "192.168.xxx.xxx", 8888);
  // for USB
  //set_microros_transports();

  //pinMode(LED_PIN, OUTPUT);
  //digitalWrite(LED_PIN, HIGH);

  delay(2000);

  allocator = rcl_get_default_allocator();

  //create init_options
  RCCHECK(rclc_support_init(&support, 0, NULL, &allocator));

  // create node
  RCCHECK(rclc_node_init_default(&node, "micro_ros_arduino_node", "", &support));

  // create subscriber
  RCCHECK(rclc_subscription_init_default(
    &subscriber,
    &node,
    ROSIDL_GET_MSG_TYPE_SUPPORT(std_msgs, msg, Int32),
    "micro_ros_arduino_subscriber"));

  // create executor
  RCCHECK(rclc_executor_init(&executor, &support.context, 1, &allocator));
  RCCHECK(rclc_executor_add_subscription(&executor, &subscriber, &msg, &subscription_callback, ON_NEW_DATA));
}

void loop() {
  delay(100);
  RCCHECK(rclc_executor_spin_some(&executor, RCL_MS_TO_NS(100)));
}
PC(ROS2 Foxy)側の設定
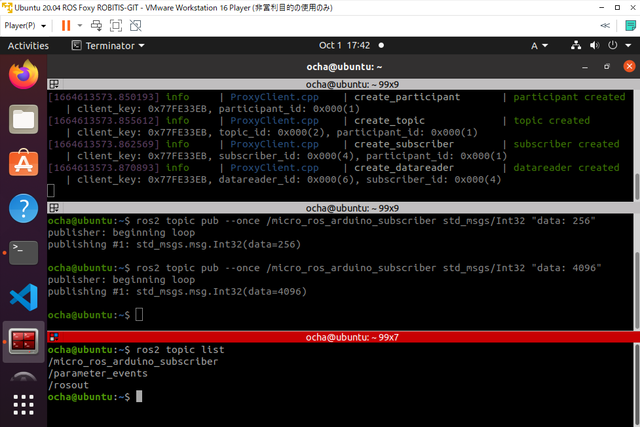
1.micro-ROS-Agentを実行する。
すでにAgentはビルドされていますので、Agentの実行のみを行います。なお、環境変数 ROS_DOMAIN_IDを設定していると動作しませんので、unset ROS_DOMAIN_ID で環境変数を削除してください。
ros2 run micro_ros_agent micro_ros_agent udp4 --port 8888
2.トピックを発行します。
ROS2の標準ツールでトピックを発行します。
ros2 topic pub --once /micro_ros_arduino_subscriber std_msgs/Int32 "data: 256"
動作確認
発行したトピックの値がM5Stackの画面に表示されました。
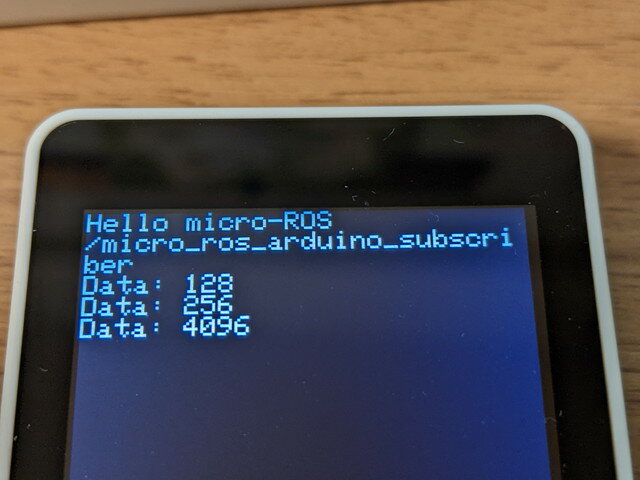
これで基本的なpub/subの動作は確認できました。
